May 30, 2012

Raspberries

We feel a little bit guilty to be so far ahead of the season, but yesterday we just couldn't resist and we bought a little box of (imported) raspberries. In sweet anticipation of the summer days we pictured those delicious, red, little fruit as filling for yummy rustic tarts, complete with extra-flaky crust. So we satisfied our longing and made them into dessert.

The Crust:

115 gr butter, frozen
156 gr flour
1/2 teaspoon salt
3 tablespoons water, ice cold
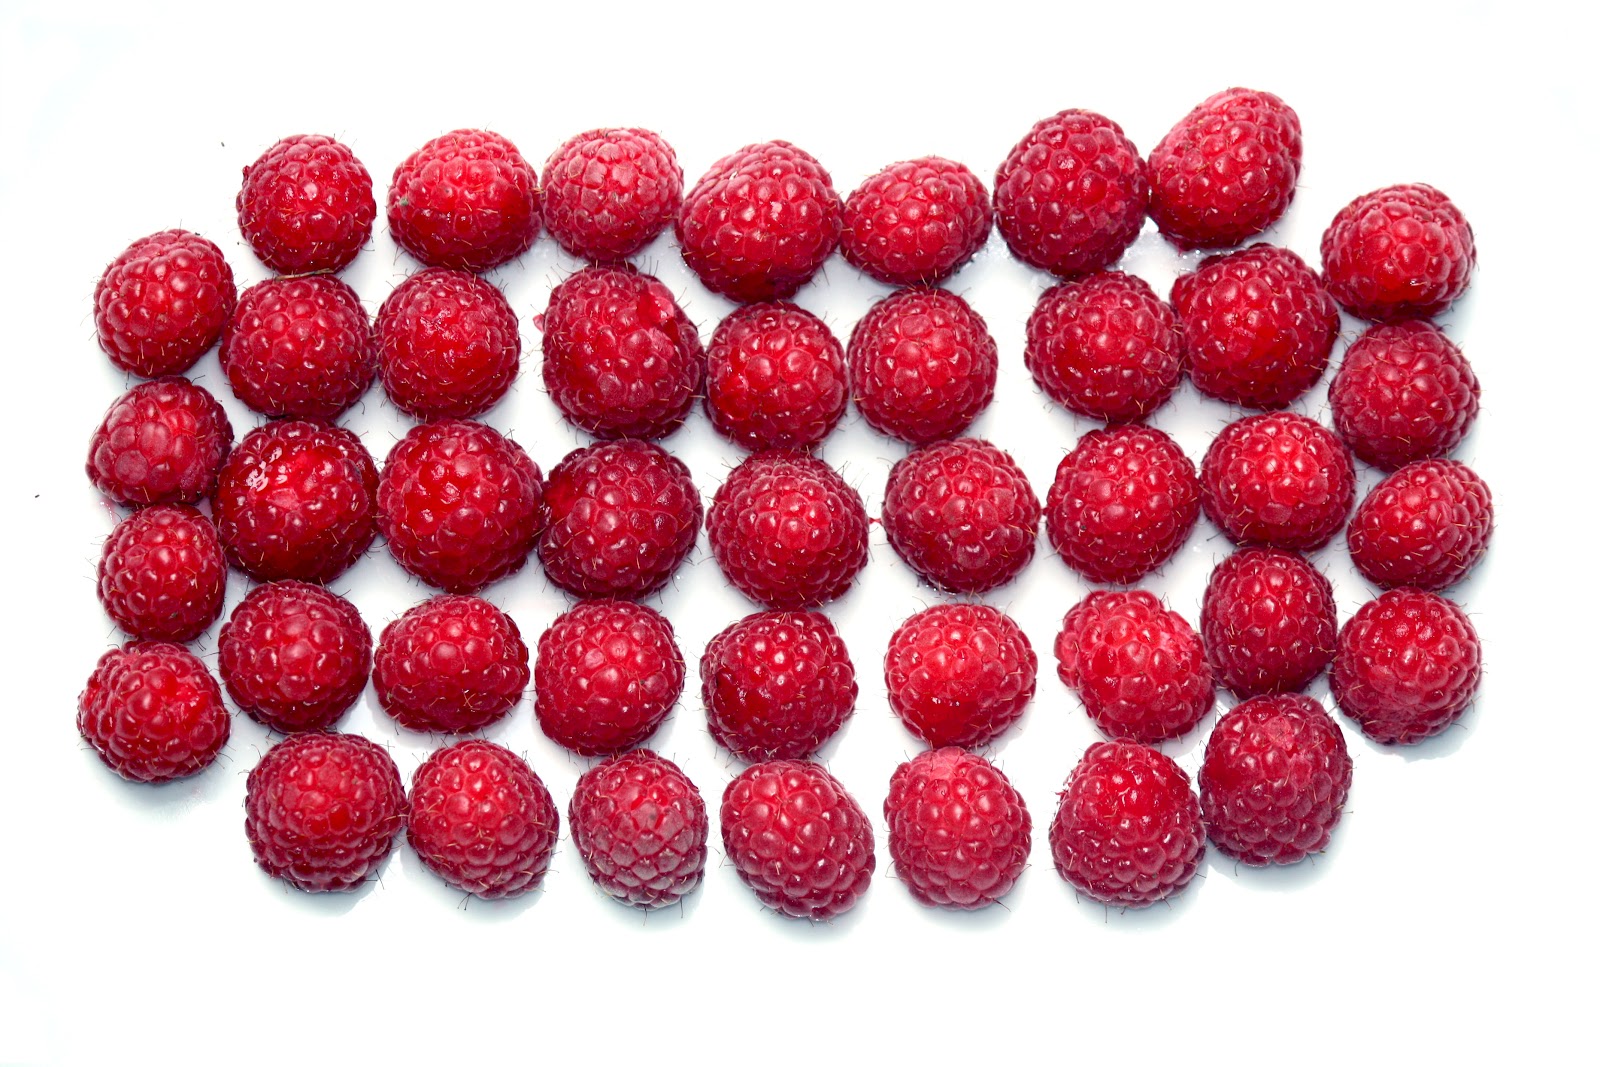
The Filling:

42 Raspberries + one for the baker

For the crust make sure that both the butter and the water are ice cold. Having butter cubes available in the freezer is very convenient, and ensures that you'll be able to make a super nice and flaky pie crust anytime. If that is not the case, just cut your butter into smallish cubes before you start the dough, and freeze them for at least 15 minutes. The colder your butter and water are, the better your chances to achieve a flaky crust.

Put the flour and the salt into a food processor and add half the butter. Pulse a number of times to chop the butter cubes into crumbs, then add the other half of the butter and proceed in the same way. Once your mixture resembles coarse meal, you can start adding some of your ice cold water. Pulse in between and then add a little bit more water. Be sure to keep the amount of water in the dough to a minimum, since too much water will create a tough crust. Stop adding water once the crumbles hold together when you pinch them with your fingers.

Place the crumbly mixture on a clean and smooth surface. Press the heel of your palm into the crumbles, smoothing them into the work surface. Repeat that a number of times, then press the crumbles together and work the dough just enough so that it holds together. Over-kneading and too much gluten development will result in a tough crust. The little bits of butter that are dotting the dough will melt during the baking process and help to create the flaky layers of the crust. Wrap the dough in clear plastic film and refrigerate for at least one hour.

Take the dough out of the fridge 10 minutes before you want to work with it. Preheat the oven to 350 F. Cut the dough into three equal pieces and roll them out to 5 inch circles, to a thickness of about one eighth of an inch. Place the circles on a baking sheet and put the raspberries in the middle, leaving about a three quarter inch edge to fold it over. 

Bake for about 45 minutes, or until the crust browns nicely.

By the way: you can be as creative with your filling as you wish. Anything goes; sweet or savory.

May 23, 2012

Nelson


Our Nelson trip was quite awesome. It was filled with all sorts of little adventures that happen to happen to you on a road trip. We had a little bit of everything, from an encounter with a black bear to a car that didn't want to start, from crappy coffee to amazing ricotta gnocchi, from beautiful sunshine to fog and rain. Everything seems to be possible once you get out of your everyday routine.

We took the scenic route (the Crowsnest Highway) to Osoyoos, then went up north through the Okanagan Valley and from Vernon followed Highway 6 to Nelson. Our car was a trusted friend, being not just our means of transportation, but also giving us a roof over our heads. However, getting it started proved to be a different story altogether. Therefore we had to extend our holiday and spent some extra time in Mission on our way back.

In Nelson we got to try quite a few very decent coffee shops (drinking awesome coffee is, next to baking bread, another of our most important culinary pastimes), miss out on the Saturday's farmers market (the first of the season!) due to our late arrival, and found all bakeries closed for the weekend.

At Bibo we enjoyed great service and an awesome dinner, accompanied by some fantastic wine from the Okanagen: Joie. A Noble Blend (2011). It's a blend of mostly Riesling and Gewürztraminer with exotic fruit characters and a refreshing acidity; very well-balanced. 

Now we are back home, excited to be baking some loaves very soon. We shall keep you posted!

May 20, 2012

Farmer's Dotter


On our way to Nelson, BC, we stopped in Cawston (just outside Keremeos), where a friend of Florin's used to own an organic garlic farm. It is on this farm that eight years ago a small team of artisan bread and wood-burning oven enthusiasts assembled for an oven-building workshop conducted by Alan Scott. The Alan Scott.

We had an amazing three days building the oven. We made some good friends and some of the people present at the workshop ended up opening their own bakeries. There was only one regret we all had; none of us had ever seen "our little baby" in operation. It's a long story, but due to some unfortunate circumstances, Jenny wasn't able to open her bakery until about a year ago.

After all this time, Florin finally made it back to Cawston. We had planed our Nelson trip for a while now, and on our way there we decided to stop and visit the farm and the newly opened bakery. The place is incredibly beautiful and functional at the same time. The farm, and the bakery, are now owned by a charming couple, Yvonne and Morris (pictured above; Lisa has a hard time not taking amazing pictures all the time), who are hard at it working the land and baking fabulous loaves for the Penticton Farmers Market. Everything they do is organic, naturally leavened, and done with tremendous passion for good food. And, let us say this again, the place (and the oven) look fabulous!

We arrived quite late in the evening and found Yvonne and Morris in the middle of baking their market loaves for the next day. Despite the late hour and their being very busy, we were welcomed inside the bakery and given the grand tour. We talked shop for a while, took lots of pictures and even discussed the possibility of an "artisan bread retreat" on the farm at some point in the future. We shall keep you posted on this latter point if we manage to make it happen.

Check out Yvonne and Morris' blog to read about their story, their love of the land and how they got into baking.

May 18, 2012

Crack That Wheat


We can't resist a good, honest, white sourdough. That much is sure. But we also like to give it a little bit of colour, either by using some whole grain flour, or, as in this case, with some cracked grain that we soak overnight.

The white flour helps create an amazing structure with beautiful, big holes... The hard part is always to wait with cutting into the loaf till after it has cooled down and set properly. Then one can see the true results, and whether one has handled the dough gently enough, or not. This loaf happened to be quite a beauty; we are very pleased with the way it turned out. It will probably make for a great travelling companion for our upcoming trip to Nelson this weekend. We are excited!

The Formula

240 gr white sourdough culture
500 gr all-purpose flour
50 gr whole rye flour
140 gr cracked wheat (soaked overnight in an equal amount of water)
300 gr water
16 gr salt

To prepare your dough and bake your loaf, follow the steps outlined in our earlier post about The Simple Life.

May 16, 2012

All That Grain


Our latest creation happens to be a multigrain loaf loaded with lots of different grains and seeds. You can try different combinations based on your own preference. This particular one consists of oat, rye, and barley flakes, millet, flax, sesame, and sunflower seeds. We used our rye sourdough culture to leaven the dough, and it contains, besides the pre-soaked multigrain mash, whole wheat and white flour in equal amounts. The texture turned out very dense and moist. We'll probably never find out how long it would stay that way, because it will be gone pretty fast. Who are we kidding, most of it is already gone as we write these lines! We had it for breakfast with apricot jam and it was yummy.

Here's how it's done:

The multigrain mash

150 gr of the grains and seeds mixture of your choice
150 gr water

Soak the mixed grains for approximately 4 hours (or over night) in 200 grams of water heated to about 165 F.

The final dough

150 gr ripe rye sourdough culture 
225 gr all-purpose flour
225 gr whole wheat flour

275 gr water

300 gr multigrain mash
15 gr salt

Mix the flour, water, multigrain mash, and sourdough culture. Let sit for about half an hour for the autolyse. Then, incorporate the salt and start kneading until your dough is fully developed. Put the dough in a bowl, cover it and let it rest for one hour. Continue by doing a stretch and fold in the bowl every hour. Let it ferment between 4 and 6 hours, then shape your loaf and let it proof for about one more hour. Bake for about 60 minutes at 450 F.

May 11, 2012

The Simple Life


This is a really simple and basic sourdough loaf, partly whole wheat and partly white all-purpose flour. By letting it ferment for about 8 hours, we gave it plenty of time to develop its flavour. The result is superb: high complexity of flavours combined with an amazing structure and a pretty nice crust. The simple life is so enjoyable.

Speaking of crust, lately we have started to bake our loaves covered with a metal bowl for the first half hour of the baking time. We find that it works really nicely. In fact, it works a lot better than spraying water inside the hot oven. The bowl covering the loaf while it bakes keeps a lot of the moister inside and it helps with the development of a great crust.

The Secret:

240 gr ripe white sourdough culture (42 %)
300 gr all-purpose flour (54 %)
260 gr whole wheat flour (46 %)
360 gr water (64 %)
14 gr salt (2.5 %)

Mix your flour, water and the white sourdough culture; be sure to hydrate all of the flour but don't do any kneading yet. Let it sit for 30 minutes, then add the salt. Now the actual kneading can begin. Since the hydration is fairly high, we started out by kneading the dough in the bowl for about 5 minutes. Let it rest for 10 minutes, then transfer the dough on a flat surface and knead it again for approximately 5 minutes. Give it once more time to relax, then do the final kneading for 5 more minutes.

Once your dough is fully developed, put it in a lightly oiled bowl, cover it and let it bulk ferment. After 2 hours give it a gentle stretch and fold in the bowl. Repeat this sequence twice, so that your dough gets at least 6 hours of fermenting and two stretch-and-folds. Shape the loaf and let it proof for one hour. Bake the proofed loaf for about 45 minutes in the preheated oven at 450 F.

May 7, 2012

Pasta, Pesto and ... Pinot


This is not a post about baking, but rather about homemade pasta and pesto. And about a fantastic Pinot Noir (2008) from the Okanagan Valley. A sunny Sunday evening that makes for a good end of our week - and that promises sunshine in Vancouver for the coming days. Finally! We all needed it.

Pasta 

Pasta is so much fun to make. And so easy too. Unlike with baking bread, you don't even have to plan ahead. If you have some eggs and flour at home, you can start right away: Use one egg for every hundred grams of flour, which should result in a very stiff dough. Kneading it properly is quite a bit of work, but you need to develop the gluten really well. You want your dough to feel smooth and silky, not rough and floury. Wrap the dough in saran wrap and let it rest in the fridge for at least an hour before making it into pasta. You can turn it into anything you wish: ravioli, spaghetti, fettuccini, lasagna sheets, etc. You can either dry your pasta or cook it right away in plenty of boiling salt-water until al dente. Serve fresh.

Pesto

We very rarely find commercially available pestos that we really like. We rather stick to fresh and homemade pestos. All sorts of them. And we love them. For this Sunday evening it was the classic pesto alla genovese, made from fresh basil, Grana Padano, pine nuts, garlic, salt, pepper and olive oil. Sweet!

and ... Pinot

We love to get our wines from our friend Michael, who runs a wine shop in Kitsilano that offers only BC wines. The Pinot Noir was already open from the night before and now even better after having all that time to breathe. The flavours came out very nicely and subtle; it has a very well-structured medium body with notes of red plum, cherry and tobacco. Give it a try!

May 4, 2012

Wild Yeast

May we introduce? These are our little babies, two quite different individuals; both are exceptional and one of a kind. And both are very much alive! To keep them active and happy at all times, we use them in our baking on a regular basis. The two sourdough cultures go back to Florin's time as a baker. The rye culture he started himself from scratch, while he got the white flour culture from a friend. 

If baking with sourdough is something that interests you, but you don't have a source for the culture, just start your own. It's easy and fun. All you need is water, flour and a little bit of patience.

How it all works

In a sourdough culture there are two kinds of micro-organisms: the flavour-producing bacteria (lactobacilli) and some sort of leavening agent (in this case, wild yeasts). A sourdough culture (or starter), used in bread baking, is a symbiosis of these two types of micro-organisms. 

While the particular species may vary from culture to culture, the basic mechanism is always the same: The lactobacillus is what gives sourdough bread its characteristic flavour. It makes the culture acidic, and is responsible for keeping the culture healthy and "clean", while fighting other compeating micro-organisms and pathogens. The yeast is what makes the dough rise. In the process of fermentation, the carbon dioxide that is produced, will create the air pockets that give bread its characteristic structure.

Once you started a sourdough culture you need to feed it on a regular basis. If you decide to keep your culture at room temperature you will have to feed it quite frequently, approximately every 12–24 hours (depending on the ambient temperature and on how active your culture is). If  that sounds too intense for you, you might consider refrigerating your culture right after feeding it. You can keep it in the fridge for about week. To use it in baking, remember to take it out of the fridge the day before you actually want to use it. Let it come to room temperature, then replenish it once and give it time to ferment. Now it should be ready to go. 

Feeding your culture involves removing parts of it, to get rid of its waste products (so that the environment doesn't become hostile to your pet microbes), then replenishing the remainder with fresh water and the type of flour of your choice. Make sure that all of the flour is hydrated. 

Day 1

To get started, take a clean container and mix about 200 grams of flour (wheat or rye) with 200 grams of water. Close the container and have it sitting at room temperature. 

Day 2

Feed your mixture after 24 hours by discarding half of it and adding again 200 grams of flour and 200 grams of water. Make sure that everything is mixed well and all of the flour is hydrated.  

Day 3

At this point there will probably be some signs of fermentation, your water-flour mixture might start to show bubbles and might have risen a little bit. Keep feeding your starter following the same schedule as before. 

Day 4

Today you should see a lot of rising. The starter might have doubled in size, or even more. If that is not the case let it sit for another 12 to 24 hours. Feed it the same way as before. It is ready, when it expands in only a few hours after feeding. It might also take another day or two, to get to that point.  If you decide to make a stiffer starter, add some extra flour.

There you go, you have helped your own sourdough culture come alive!

May 1, 2012

Currants and Sunflower Seeds


Since the formula we used for the walnut sourdough was so successful, we promptly used it in our next loaf. This time making a slightly larger batch, and incorporating currants and sunflower seeds. So good. 

The Formula
makes one large loaf

240 gr ripe rye sourdough culture (48 %)
370 gr all-purpose flour (74 %)
50 gr whole rye flour (10 %)
80 gr whole wheat flour (16 %)
360 gr water (72 %)
14 gr salt (2.8 %)

100 gr currants (20 %)
100 gr sunflower seeds (20 %)


Incorporate all of your flour together with all of the water and the rye sourdough culture. Make sure the flour is properly hydrated, but do not knead or develop your dough yet. Let it sit for 30 minutes for the autolyse, then add the salt and knead the dough for about 10 minutes. Once your dough is fully developed, gently incorporate the currants and the sunflower seeds. Let the dough ferment for about 2 hours, then give it a gentle stretch and fold and let it rest for another hour or two. Now the dough is ready for shaping. Let it proof for one hour and bake the proofed loaf for about 50 minutes in the preheated oven at 450 F.